Adding Search to GitHub Pages Hosted Sites
Adding search to a blog hosted on GitHub Pages can present some unique challenges. Because GitHub Pages doesn’t support server-side code, traditional server-side search engines are off the table. This means we need to explore alternative approaches, primarily client-side solutions or leveraging third-party search services. In this post, we’ll delve into how to implement a basic yet effective client-side search engine using the powerful combination of Jekyll and JavaScript. The implementation will involve pre-processing the blog content during the Jekyll build process to create a search index, enabling fast and efficient searching directly within the user’s browser.
Why Client-Side Search?
While third-party search solutions are available, client-side search offers some compelling advantages, especially for smaller blogs. First and foremost, it avoids any external dependencies, keeping your site architecture simple and eliminating reliance on external services. This also gives you complete control over the search functionality and how it’s implemented, allowing for customization and fine-tuning to perfectly match your blog’s needs. And, of course, a significant benefit is that it’s cost-effective, avoiding any recurring costs associated with third-party search services.
Building the Search Index with Jekyll
To minimize the processing burden on the client’s browser and ensure a responsive search experience, we’ll pre-process the blog content and generate a search index. This crucial step happens during the Jekyll build process.
The search index will take the form of a JSON array, where each element represents a blog post. Each post entry will contain the title, a collection of keywords and their frequencies within the post, the URL of the post, and a short, descriptive excerpt. This structure allows us to quickly search for terms and retrieve relevant information.
[
    {
        title: "Build your own Search Engine 101",
        keywords: {
            search: 26,
            engine: 6,
            document: 24,
            example: 3,
            containing: 3,
            word: 4,
            lookup: 2,
            key: 1,
            indexed: 1,
            tokens: 4,
            tokenizer: 4,
            frequency: 7,
            // ... more keywords
        },
        url: "/projects/2015/01/31/build-your-own-search-engine-101.html",
        excerpt: "For many of us, there is something magical with a search engine. You type in a few well selected words and out comes, hopefully, exactly what we are looking for. So how does it work? In this post I’ll go through some of the basic building blocks needed for a basic search engine."
    },
    // ... more blog posts
]
The index contains a list of all blog posts with the title, keywords, url and an excerpt of the content. The keywords are generated by tokenizing the content of the blog post and counting the frequency of each word. The search index is generated using a Jekyll template file that loops over all the posts and generates the index.
Because of the limitations of Jekyll’s Liquid templating we have to skip more advanced features like stemming. We also have to be careful with the size of the index. The index for this blog is currently about 100KB in size, which is still small enough to be performant even on slower devices like phones. To keep the index small we use a list of stop words, common words like “the”, “and”, “is”, etc, that we do not include in the index.
To build this index with Jekyll we create a new search_index.json file in the root of the project.
search_index.json
---
layout: null
---
{%- assign stop_words = site.data.stop_words.words -%}
{%- assign split_chars = site.data.split_chars.chars -%}

[
  {% for page in site.posts %}
    {
      "title": "{{ page.title | escape }}",
      "keywords": {
        {%- assign sanitized_content = page.content | append: ' ' | append: page.title | strip_html | downcase | escape %}
        {%- for char in split_chars %}
            {%- assign sanitized_content = sanitized_content | replace: char, ' ' %}
        {%- endfor %}

        {%- assign words = sanitized_content | split: ' ' %}
        {%- assign filtered_words = words | where_exp: "word", "word.size > 1" %}

        {%- assign stop_words_filtered_words = '' %}
        {%- for word in filtered_words %}
            {%- unless stop_words contains word %}
                {%- if stop_words_filtered_words == '' %}
                    {%- assign stop_words_filtered_words = word %}
                {%- else %}
                    {%- assign stop_words_filtered_words = stop_words_filtered_words | append: ',' | append: word %}
                {%- endif %}
            {%- endunless %}
        {%- endfor %}

        {%- assign filtered_words = stop_words_filtered_words | split: ',' %}

        {%- assign grouped_words = filtered_words | group_by_exp: "word", "word" %}
        {%- for group in grouped_words %}
            "{{ group.name }}": {{ group.items | size }}{% unless forloop.last %},{% endunless %}
        {%- endfor %}
      },
      "url": "{{ page.url | relative_url }}",
      "excerpt": "{{ page.excerpt | strip_html | escape | strip_newlines }}"
    }{% unless forloop.last %},{% endunless %}
  {%- endfor %}
]
Let’s break this template down. First, it grabs data from two files: stop_words.yml and split_chars.yml. These files, which live in your _data folder, contain lists of common words (like “the”, “a”, “is”) and characters used to split text (like periods, commas and other separators). These lists help keep the index small by ignoring unimportant words and make sure the text is broken down correctly.
The template then goes through all your blog posts, grabs the title and content, and cleans it up by making everything lowercase, removing HTML, and replacing splitting characters with spaces. Then, it gets rid of short words (one letter) and those common “stop words.” After that, it counts how often each word appears and finally creates the JSON for each blog post, including the title, the important words and their counts, the URL, and a short excerpt.
Here’s a sample of what _data/stop_words.yml and _data/split_chars.yml files might look like:
_data/stop_words.yml
words:
  - the
  - a
  - is
  - and
  - ... (add more words here)
_data/split_chars.yml
chars:
  - "."
  - ","
  - "!"
  - "?"
  - "-"
  - ... (add more characters here)
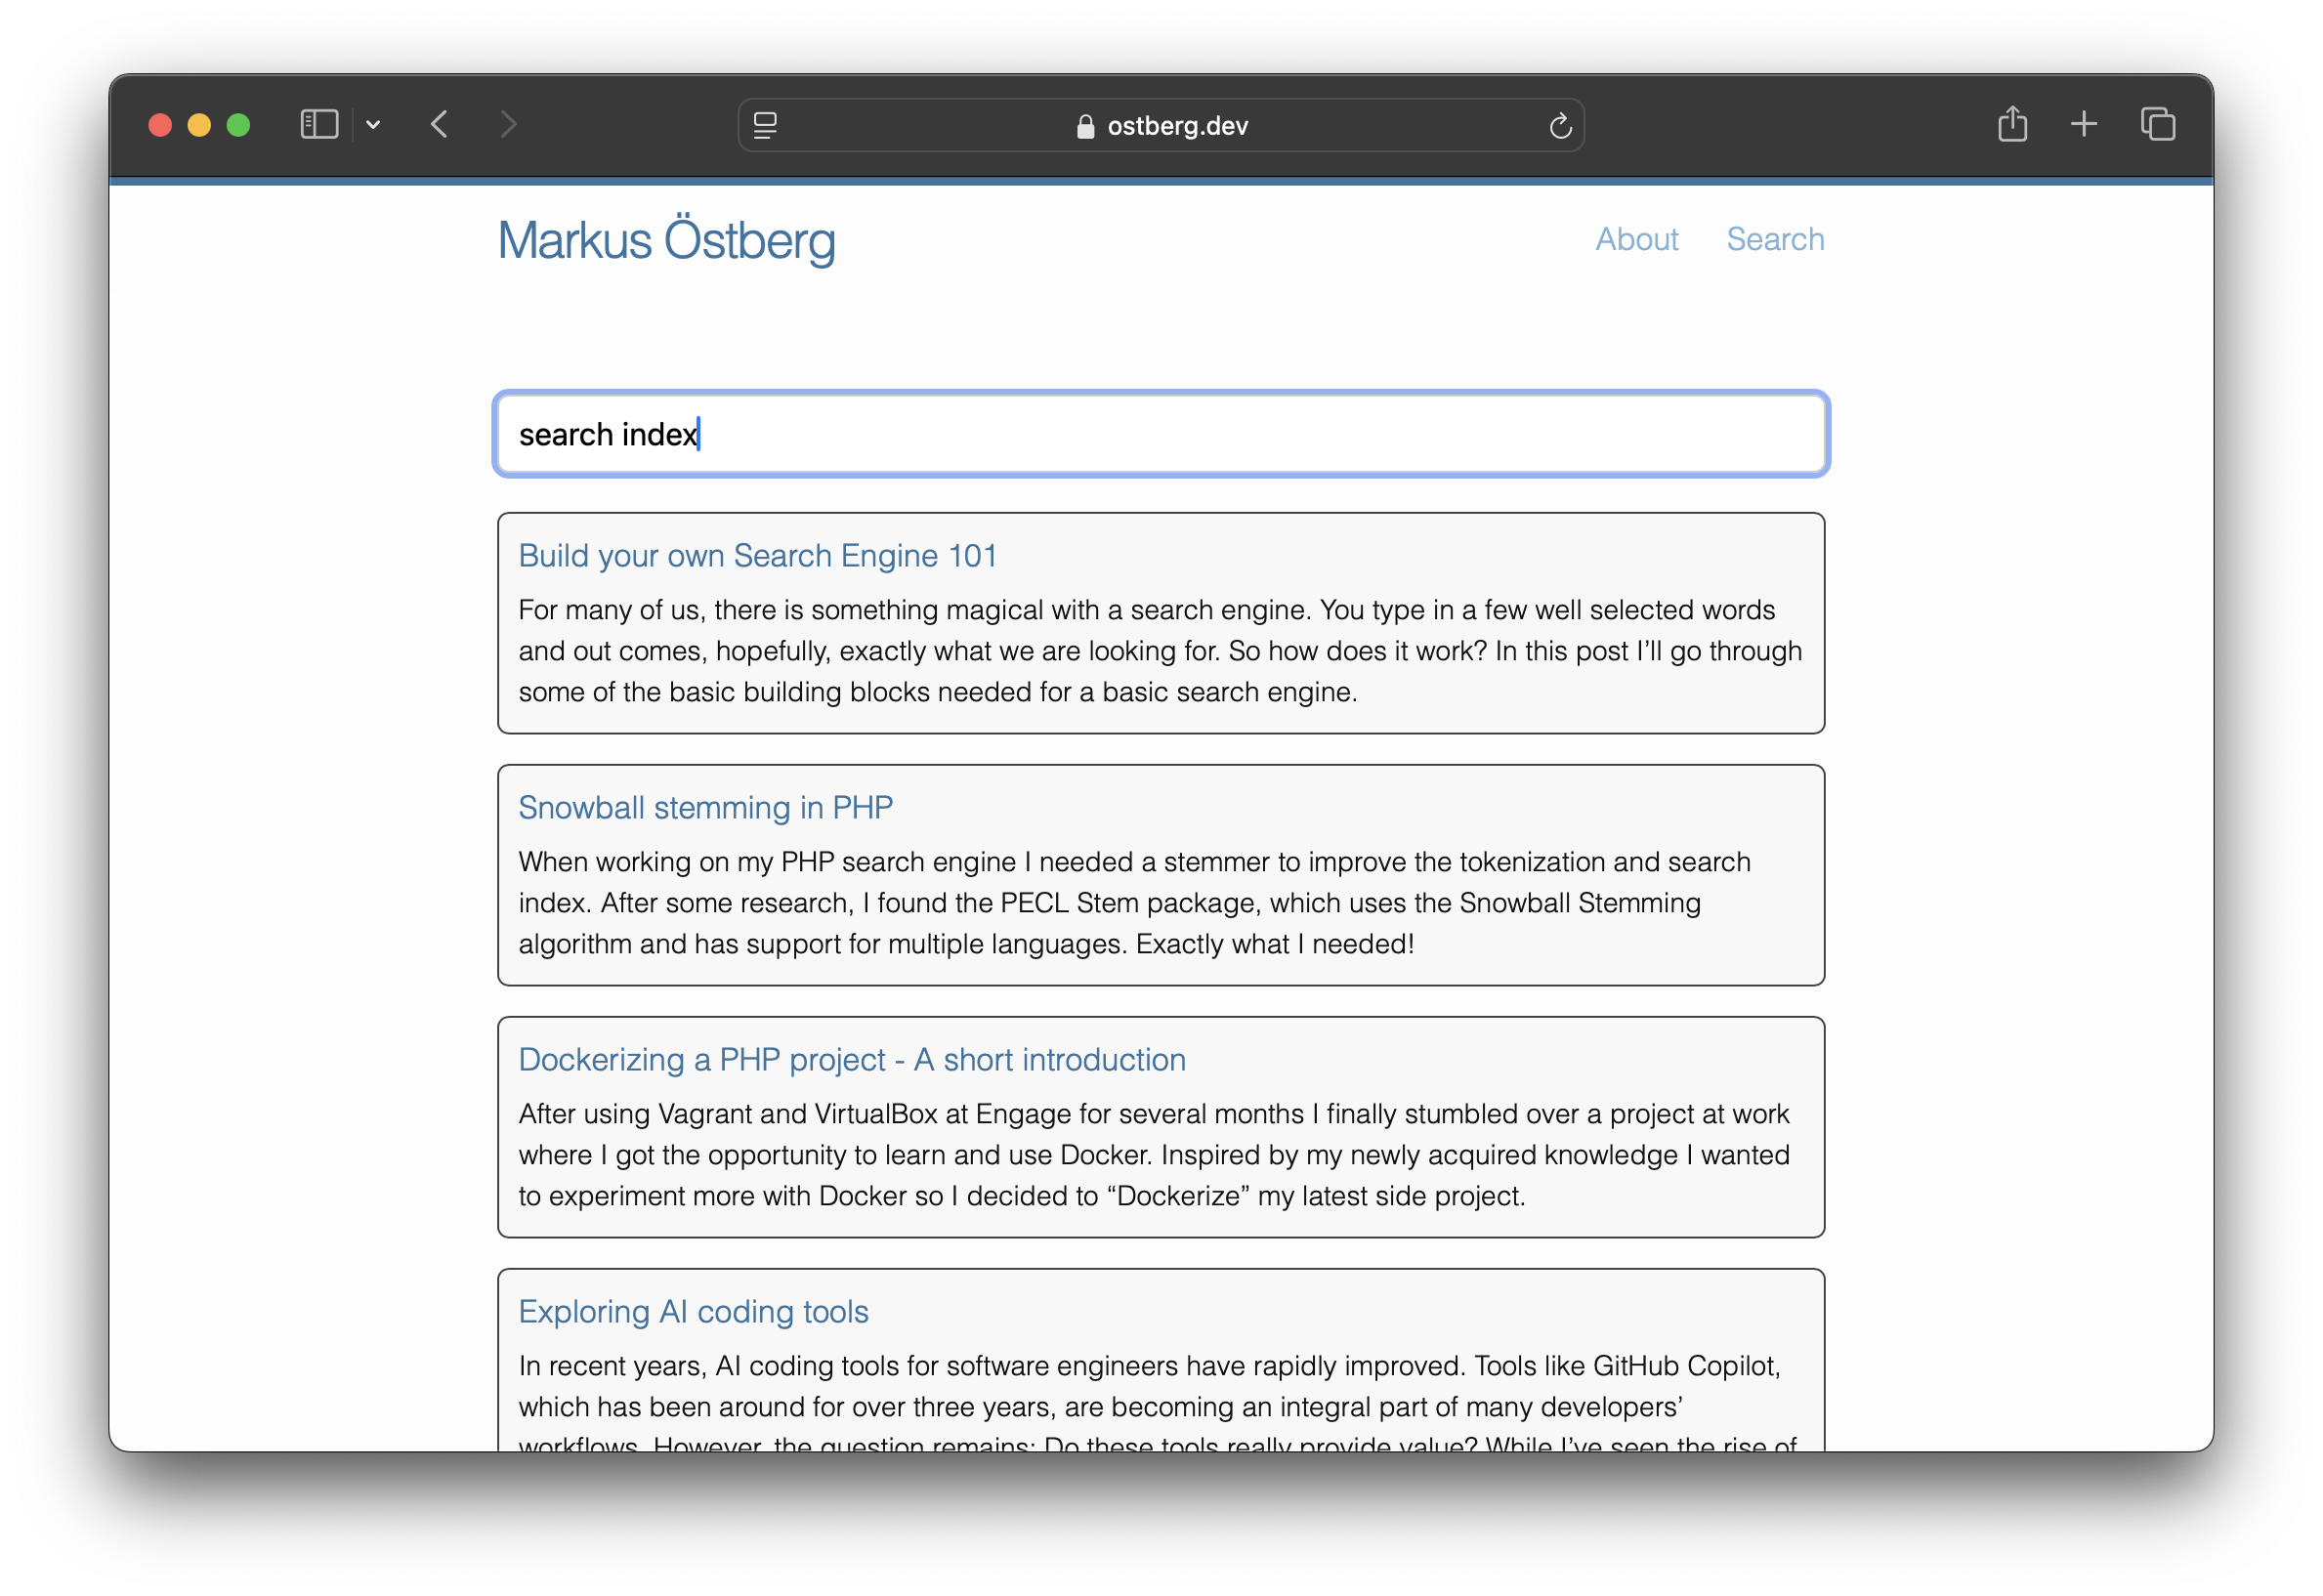
Search Page
The search page is a simple HTML page that contains a search input field and a list of search results. The search page uses the search index generated by Jekyll to search the content of the blog. The search page is implemented using another Jekyll template and a JavaScript file that loades search index using an AJAX request and then handles search requests.
search_index.md
---
layout: default
title: Search
permalink: /search/
---

<div id="search" data-baseurl="{{ site.baseurl }}">
  <input type="text" id="search-input" placeholder="Search articles...">
</div>

<script src="{{ site.baseurl }}/assets/js/search.js"></script>
This page has a search box and a div where the results will show up. It also includes the JavaScript file that does all the processing.
assets/js/search.js
document.addEventListener("DOMContentLoaded", function() {
    const searchInput = document.getElementById('search-input');
    const baseUrl = document.getElementById('search').dataset.baseurl;
    let resultsContainer;
    const maxResults = 10;

    fetch(`${baseUrl}/search_index.json`)
        .then(response => response.json())
        .then(searchIndex => {
            // Function to calculate TF-IDF score
            function calculateTfIdf(query, item) {
                const queryTerms = query.toLowerCase().split(' ');
                let score = 0;

                queryTerms.forEach(term => {
                    const termFrequency = Object.keys(item.keywords).reduce((acc, keyword) => {
                        if (keyword.startsWith(term)) {
                            acc += item.keywords[keyword];
                        }
                        return acc;
                    }, 0);

                    const inverseDocumentFrequency = Math.log(searchIndex.length / searchIndex.filter(i => Object.keys(i.keywords).some(keyword => keyword.startsWith(term))).length);
                    score += termFrequency * inverseDocumentFrequency;
                });

                return score;
            }

            // Function to perform the search
            function performSearch(query) {
                query = query.toLowerCase();
                const results = searchIndex.map(item => ({
                    ...item,
                    score: calculateTfIdf(query, item)
                }))
                .filter(item => item.score > 0)
                .sort((a, b) => b.score - a.score)
                .slice(0, maxResults);

                displayResults(results);
            }

            // Function to display results
            function displayResults(results) {
                if (!resultsContainer) {
                    resultsContainer = document.createElement('div');
                    resultsContainer.id = 'search-results';
                    searchInput.parentNode.appendChild(resultsContainer);
                }
                resultsContainer.innerHTML = '';
                if (results.length === 0) {
                    resultsContainer.innerHTML = '<p>No results found.</p>';
                    return;
                }

                const ul = document.createElement('ul');
                results.forEach(item => {
                    const li = document.createElement('li');
                    const a = document.createElement('a');
                    a.href = item.url;
                    a.textContent = item.title;
                    li.appendChild(a);

                    const p = document.createElement('p');
                    p.textContent = item.excerpt;
                    li.appendChild(p);

                    ul.appendChild(li);
                });

                resultsContainer.appendChild(ul);
            }

            // Event listener for search input
            searchInput.addEventListener('input', function() {
                performSearch(this.value);
            });

            // Trigger initial search if search input has value
            if (searchInput.value.trim() !== '') {
                performSearch(searchInput.value);
            }
        })
        .catch(error => console.error('Error loading JSON:', error));
});
In order to better support matching of search terms we calculate the TF-IDF score for each document in the search index not by exact match, but with an startsWith check. This allows for partial matches to be included in the search results and allows the search to return results as soon as the user has typed even a partial word. The search results are then sorted by the TF-IDF score and the top 10 results are displayed to the user.
Due to the lack of stemming and other more advanced features the search is not as accurate as a full search engine, but it is good enough for a simple blog.
Conclusion
We’ve walked through the process of adding a client-side search engine to my GitHub Pages hosted blog. I’ve shown how I pre-processed the blog content and generated a search index using Jekyll, enabling fast and efficient searching directly in the user’s browser. This basic implementation serves my current needs well, providing a functional search capability. However, there’s always room for improvement and further refinement as the blog grows and evolves. I’m excited to explore more advanced features and enhancements to enhance the search experience.
My approach involved creating a JSON index of post titles, keywords, URLs, and excerpts. I chose to use Jekyll’s Liquid templating for index generation, leveraging its ability to iterate through my posts and extract the necessary information. While Liquid has some limitations, it was sufficient for my needs at this stage. I also implemented a simple JavaScript-based search function that uses the generated index to find relevant results. I opted for a simplified TF-IDF calculation and basic term matching to keep the implementation straightforward and easy to modify.
This approach works well for my blog’s current size and complexity. However, I recognize that it has room for improvement. For instance, the current keyword matching doesn’t handle variations in word forms or typos, which could lead to missed results. As this blog grows, this might become a more significant issue. Similarly, the simplified term frequency calculation could also be refined for better accuracy.
Looking ahead, I’m considering several enhancements. Exploring fuzzy matching and stemming could improve search recall and handle typographical errors. I might also investigate more sophisticated client-side search libraries, which often provide these features out of the box, as well as more advanced indexing and ranking algorithms. These libraries could offer a more robust and performant solution as the site scales.
In summary, this post has detailed my process of adding a client-side search engine to my GitHub Pages blog. This implementation serves my current needs and provides a solid foundation. I’m pleased with the results achieved, and I’m excited to explore future enhancements to better refine the search experience.